In 2024, securing your home network is more crucial than ever. With a TP-Link Wi-Fi 6 router and GnuVPN, you can easily set up a VPN server to enhance your online security and privacy. This guide will walk you through the process step by step.
Understanding the Benefits of a VPN Server on Your Router
Enhanced Security and Privacy
By setting up a VPN server on your router, all devices connected to your network benefit from encrypted internet access, safeguarding your online activities from prying eyes.
Seamless Connectivity
A VPN server on your router allows you to access your home network remotely, providing secure access to your files and devices wherever you are.
Choosing the Right Hardware and VPN Service
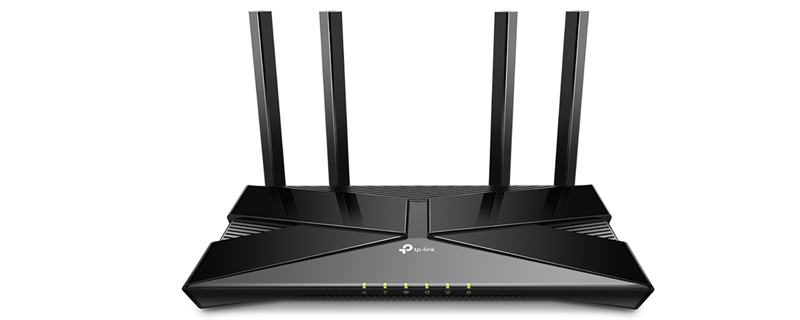
Why TP-Link Wi-Fi 6 Router?
TP-Link’s Wi-Fi 6 routers are known for their fast speeds, extensive coverage, and reliability, making them ideal for a home VPN setup.
Selecting GnuVPN for Your Router
GnuVPN is compatible with a wide range of routers and offers robust security features, ensuring a seamless and secure VPN experience.
Step-by-Step Guide to Setting Up Your VPN Server
First of all: Access Your TP-Link Router Settings
- Connect your device to the TP-Link network.
- Open a web browser and enter the router’s IP address, typically 192.168.0.1 or 192.168.1.1.
- Log in with your admin credentials.
Secondly: Configure VPN Server Settings
- Navigate to the VPN section in your router settings.
- Select the option to set up a VPN server.
- Choose the VPN protocol supported by GnuVPN, such as OpenVPN or PPTP.
Thirdly: Configure VPN Parameters
- Set the VPN server IP address range. This will be used to assign IP addresses to devices connecting through VPN.
- Configure other settings as per GnuVPN’s guidelines, including encryption standards and authentication methods.
And finally: Activate the VPN Server
After configuring the settings, save them and activate the VPN server on your TP-Link router.
Connecting Devices to Your VPN
Step 1: Install VPN Client Software
Install GnuVPN client software on the devices you want to connect to your VPN network.
Step 2: Connect to Your Home VPN
Using the GnuVPN client, connect to your home VPN server using the credentials you set up in the router settings.
Maintaining and Troubleshooting Your VPN Server
Regularly Update Firmware and Software
Keep your TP-Link router’s firmware and GnuVPN software updated for optimal performance and security.
Troubleshooting Common Issues
If you encounter connection issues:
- Restart Your Router: This can resolve many network-related problems.
- Check VPN Settings: Ensure all settings are correctly configured and match with GnuVPN’s guidelines.
- Consult GnuVPN Support: For unresolved issues, GnuVPN’s customer support can provide assistance.
Secure Your Network with Ease
Setting up a VPN server on your TP-Link Wi-Fi 6 router is a smart move in 2024. With this guide and GnuVPN, you enhance your network’s security and enjoy private internet access across all your devices.
Now that you have transformed your TP-Link router into a robust VPN server with GnuVPN, you can surf the web with peace of mind, knowing your online activities are secure and private. Enjoy the freedom and security this setup brings to your digital life!